This Quick Start Guide gives you the basic steps you need to know to begin creating exports for QlikView in on-demand mode. On-Demand mode is used when users are to be allowed direct access to TM1 under the following conditions:
❑Real-time access to data is needed
❑Data volumes are low
❑TM1 is the provider of data security (optional)
❑QlikView will be used in Desktop mode (On demand mode not supported for QlikView Web Users).
Basic Publishing Steps
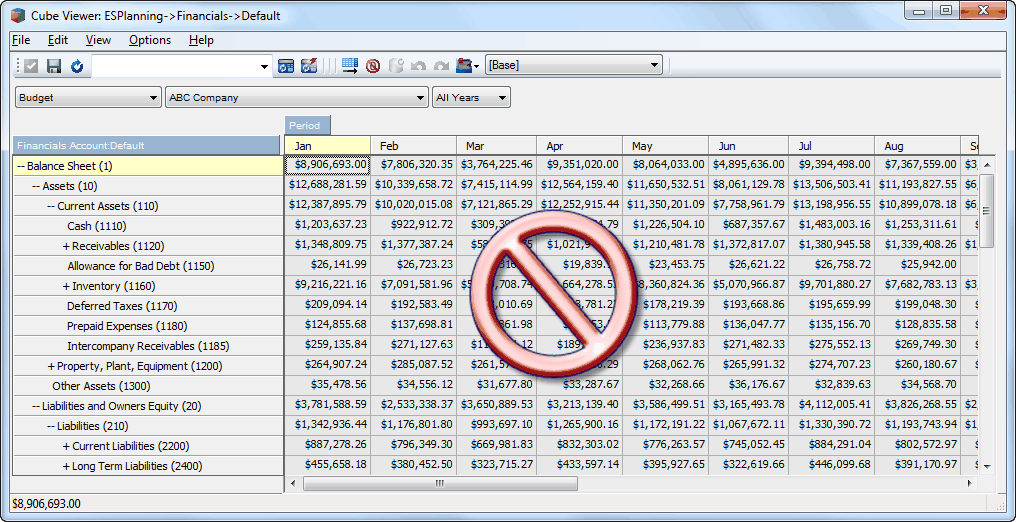
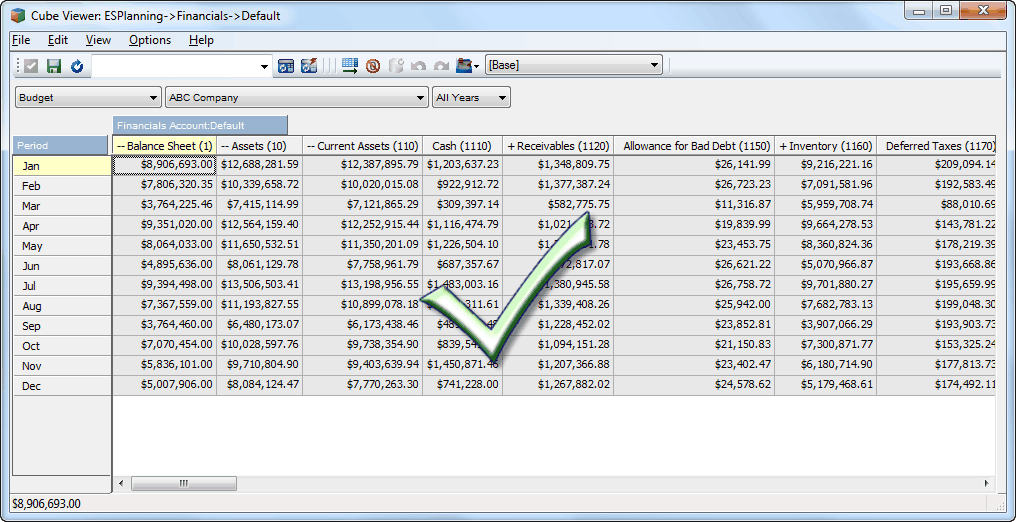
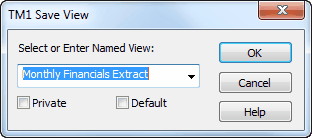
Use Cube Viewer in TM1 to create a view that closely resembles the bulk of information that is to be displayed on the form or report. Get this view to look as close to the final format that you want to display and save it as a public view. Unlike TM1, QlikView prefers information in a relational format where the data values correspond with the column headings (measures), rather than on the rows. The following view has the accounts on the rows and the months on the columns. Although this may appear to be a typical view in TM1 and QlikView is able to import this data file easily, it will however, turn out to be difficult to work with in QlikView when attempting to obtain a quarterly total for the Cash (1110) account.
|
Using Internet Explorer, Chrome, Firefox (or other web browser), go to the URL of TM1Connect (typically http://servername/TM1Connect).
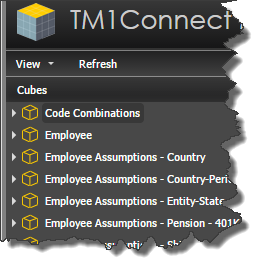
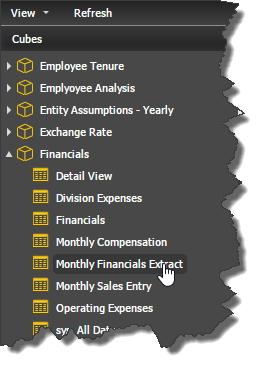
Expand the desired cube and locate the saved view created in the previous step.
|
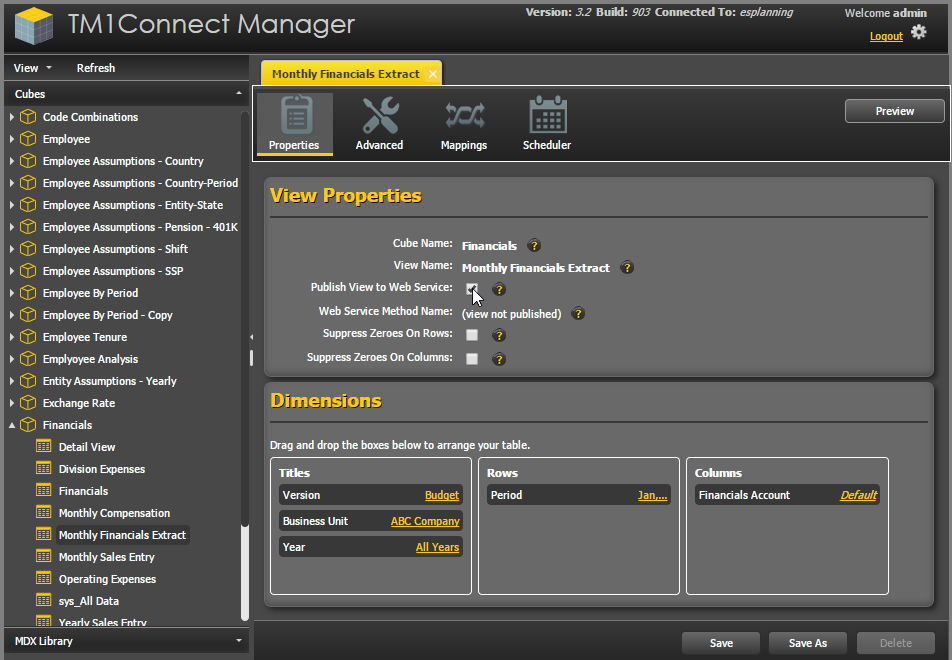
The next step is to publish the view to the TM1Connect web service. This is the name that the users will use when connecting from the TM1Connect Plug-In for QlikView. Check the box labeled Publish View to Web Service and save the view.
|
![]() Select the TM1Connect Plug-in in QlikView
Select the TM1Connect Plug-in in QlikView
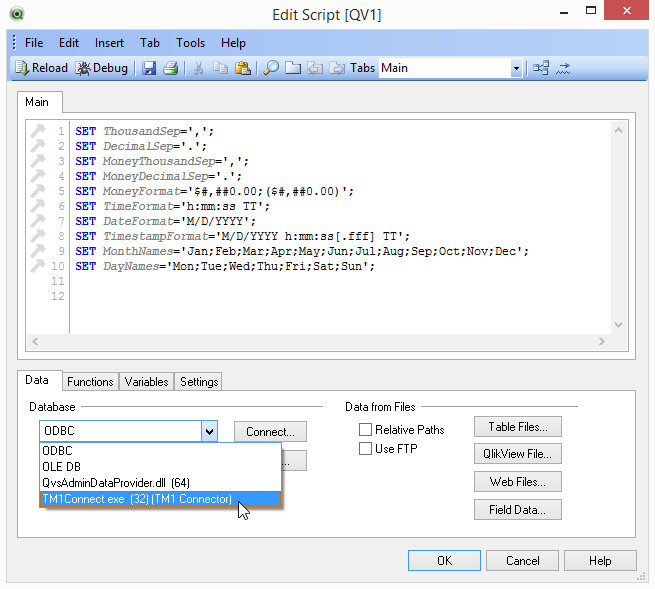
The database selection control remembers the last selected data source. The first time you open the script editor in QlikView, you will need to select the TM1Connect connector as your data source. As shown in the following screen shot.
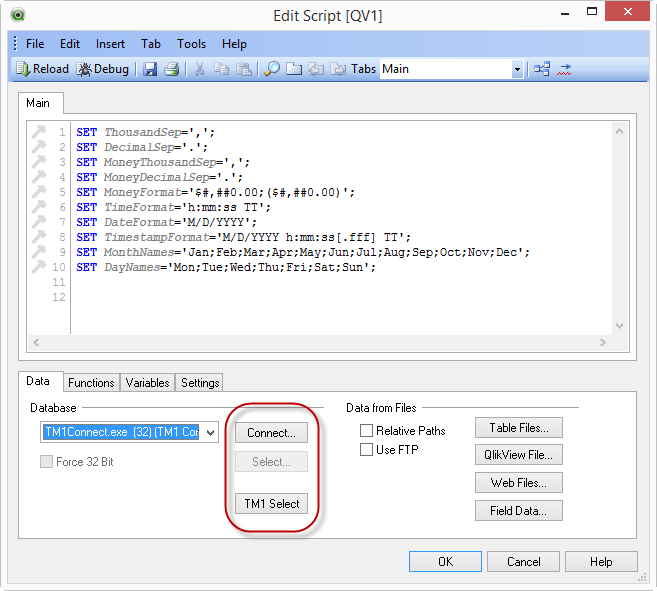
The buttons on the page will change to reflect the selection of the new data source.
|
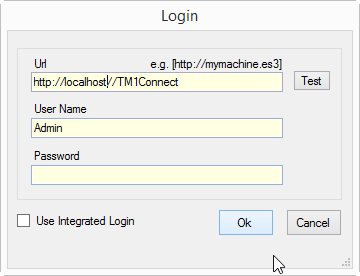
With the TM1Connect plug-in selected, press the Connect... button to be prompted for the location of TM1Connect server, and user name and password to connect with TM1. The user name and password must be configured in TM1 in order for the plug-in to connect. The standard security mechanisms of TM1 are respected by TM1Connect, such that if a user does not have access to a view or an element within a dimension, the user will not see this information when requesting information from TM1Connect via the plug-in.
A successful log in will add a custom connection line to the QlikView script
|
![]() Select the view to import into QlikView
Select the view to import into QlikView
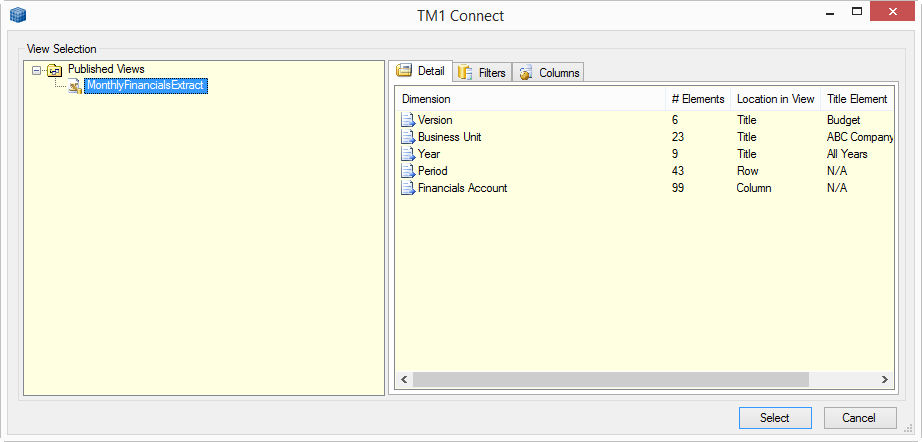
Once you have made a successful connection to TM1Connect server, you will be presented with a list of published views that are ready for use. Select the view that was published and is ready for use in QlikView, and press the Select button.
After the view has been selected, an SQL statement will appear in the script which will instruct QlikView what information is to be extracted from TM1Connect.
|
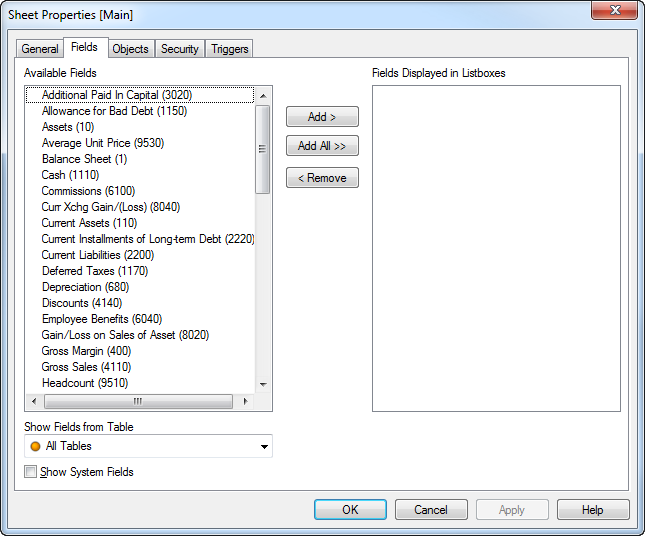
With the connection and the query configured, press Reload button in the top left menu bar of the QlikView Script Editor, to import the data using the normal QlikView data loading procedures. The fields returned will correspond with the columns defined in the view and will be available for loading into the QlikView document.
|
